A Step-by-Step Look at the Furnace Installation Process
Replacing a furnace is a major home project, and knowing what to expect can make it far less stressful. A professional furnace installation usually takes one day, but it involves careful planning and several important steps. Here is a clear look at how the process works from start to finish.
1. Home Assessment and Load Calculation
Every furnace installation begins with a proper evaluation of your home. A technician measures square footage, checks insulation levels, inspects windows, and examines your existing ductwork.
They then perform a load calculation to determine the right furnace size. A unit that is too large will cycle on and off too often, while one that is too small will struggle to keep your home warm. Accurate sizing is the foundation of efficiency and comfort.
2. Choosing the Right Furnace
Once your needs are clear, you can select the best system for your home. A furnace installation gives you the chance to compare fuel types, such as natural gas, electric, or propane, and to review efficiency ratings.
The AFUE rating shows how much fuel is turned into heat, and higher numbers mean lower energy bills over time. Ask about single-stage, two-stage, and variable-speed models, since each offers different levels of comfort and noise control.
3. Preparing the Site and Removing the Old Unit
On installation day, the crew protects your floors and clears the work area. Furnace installation starts with shutting off the gas, electricity, and any other power connections to the old unit.
The technicians then disconnect and remove the old furnace, along with old venting if needed. They also inspect the surrounding area for rust, damage, or code issues that must be corrected before the new unit goes in.
4. Installing and Connecting the New Furnace
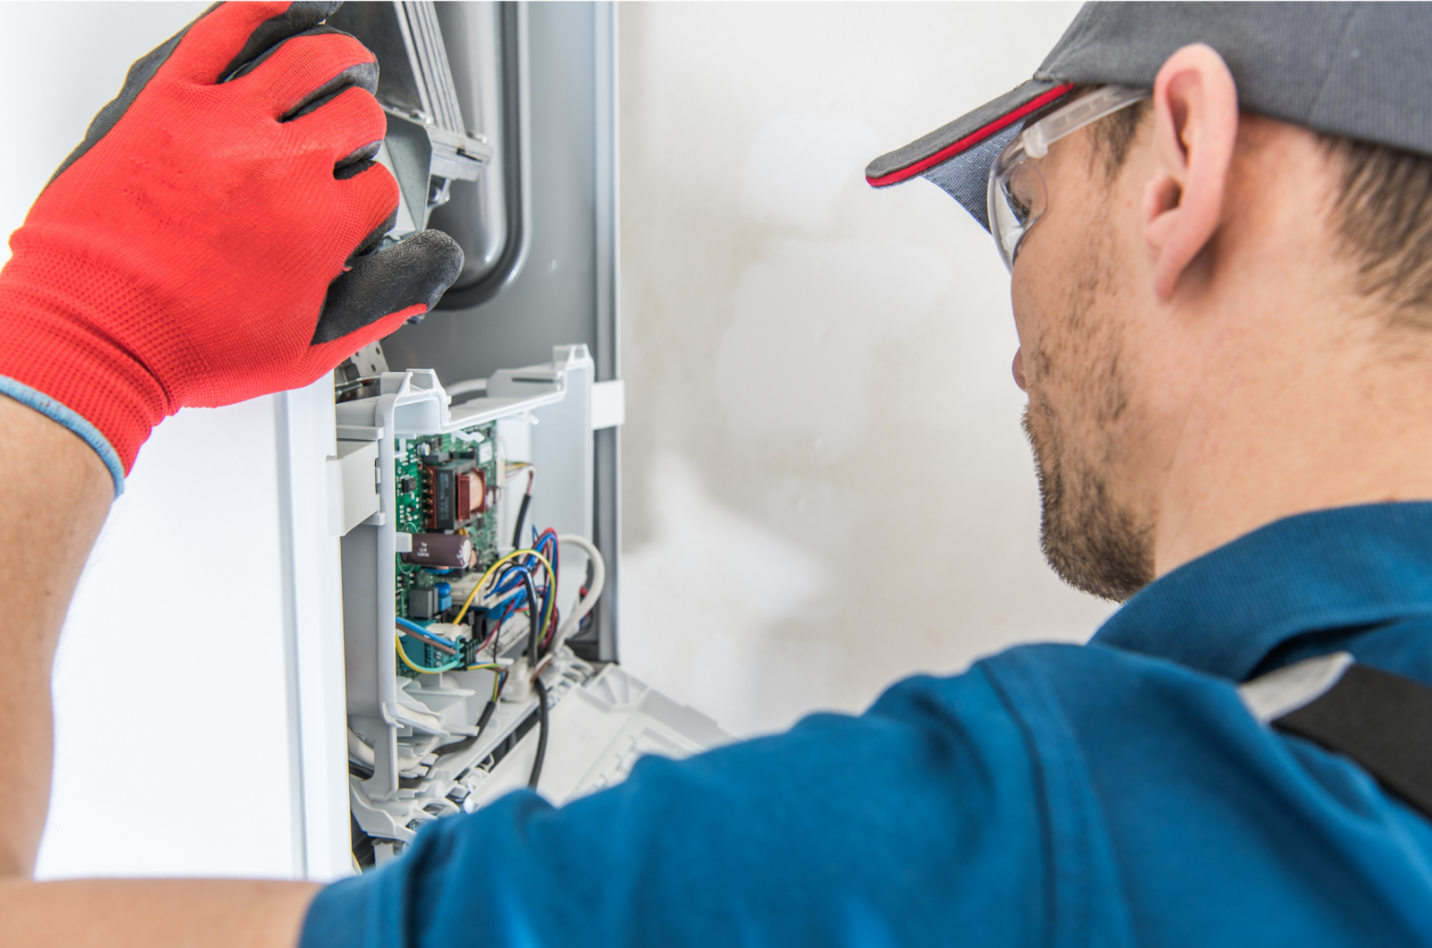
Next, the new furnace is positioned and secured. During furnace installation, the technicians connect the unit to your ductwork, gas line or electrical supply, and venting system.
Proper venting is especially important because it carries dangerous gases like carbon monoxide safely outside. Any necessary ductwork repairs or sealing are done at this stage to prevent heat loss. Quality workmanship here protects both safety and performance.
5. Thermostat Setup and System Testing
After the connections are complete, the installer tests the entire system. A careful furnace installation includes checking gas pressure, airflow, temperature rise, and safety controls.
The technician also installs or programs your thermostat, and a smart or programmable model can help you save energy. They confirm that the system starts correctly and that every room receives steady, even heat. Carbon monoxide detectors should also be checked at this time.
Final Thoughts
A well-planned furnace installation brings reliable warmth, better efficiency, and peace of mind for many years. Choose a licensed, insured contractor, get written estimates, and make sure the system is properly sized for your home. After installation, change filters regularly and schedule yearly maintenance to protect your investment. With the right preparation and professional help, the process can be smooth, safe, and well worth the cost.